

What you actually need to buy

I've been printing decks at home for years with a laser printer, 200 gsm matte paper, and a Fiskars rotary trimmer. You don't need much equipment to get started.
Below are the specifications I'd check before buying, along with a few models to investigate. I haven't tested all these machines, so treat the list as a starting point and check the current specs before ordering.
The first two posts in this series covered when to use print and play and what the files actually are. This one is the shopping list.
Board game hobbyists have shared a lot of useful advice about making cards at home. Some of it is aimed at cards that get shuffled repeatedly or held in a hidden hand.
Most of my workshop cards spend their time face up on a table, being read and sorted. I don't need them to feel exactly like playing cards. Think about how your own deck will be used before spending money on a particular finish or stock.
Printers
Check the paper-weight limit for each feed path. A printer advertised as supporting 300 gsm may only accept that weight through its manual or rear feed. Its automatic duplex limit can be much lower, because the machine has to pull the sheet back inside and reverse it.
For heavier paper, you may need to print one side and feed it back manually for the other. Check the manufacturer's instructions for doing that with your chosen stock. Automatic duplex is useful only if it supports the paper you want to use.
I'd start with the supported paper weight and feed path. A straight or gently curved path is generally easier on thick stock. Then I'd look at front-to-back alignment, running costs, and colour quality.
Look for the gsm rating per tray and the separate duplex rating in the manual. "Supports cardstock" alone doesn't tell you enough.
Laser or inkjet
I use laser and I'd choose it again for my decks, which are mostly text and flat colour. I can cut soon after printing, and toner holds up well to handling on suitable paper. A laser can also sit unused without ink drying in a printhead, which suits how I work.
For photographs or detailed illustrations, I'd look at photo inkjets too. A good multi-ink model can reproduce subtle colours and gradients well. Refillable tanks can reduce running costs, though you still need to account for the printer, paper, and maintenance.
Models people recommend
For illustrated decks, the Epson EcoTank ET-8550 is worth investigating. It has six inks, refillable tanks, and A3+ printing. Check the feed instructions for your intended stock, as supported thickness depends on the feed path. It costs more upfront than a basic home printer and benefits from regular use.
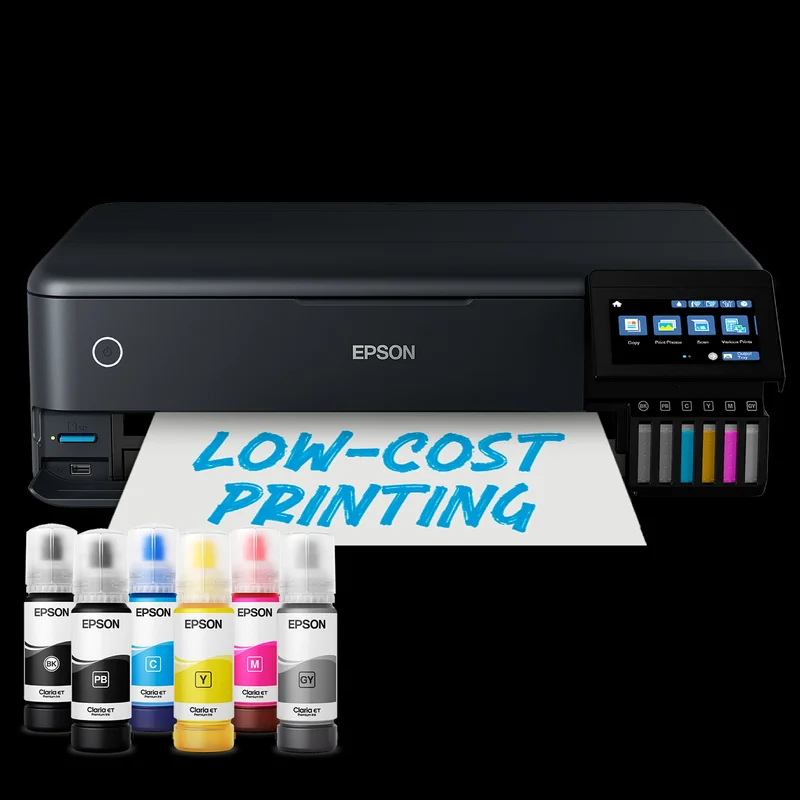
The Epson EcoTank ET-8550. Product photo: Epson.
For toner-based printing, the Brother HL-L3280CDW is another model to compare. Check the manual-feed and automatic duplex weight limits separately; support for heavier paper in one doesn't imply support in the other.
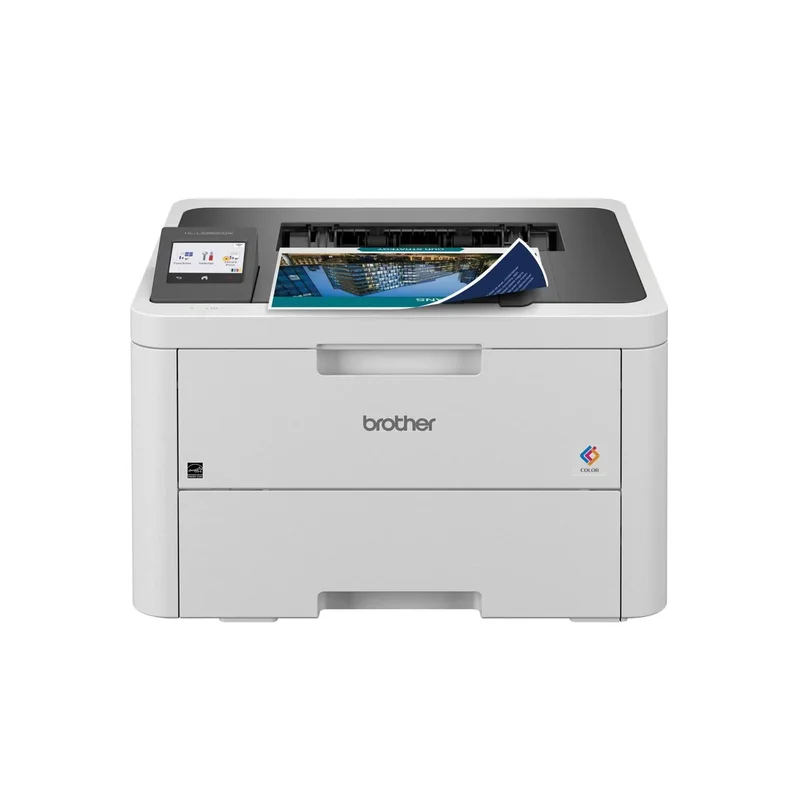
The Brother HL-L3280CDW. Product photo: Brother.
The OKI C650 is aimed at in-house colour printing and is another option to investigate for heavier stock. Compare the supported weights for each tray and duplex mode, along with the purchase price and consumable costs.
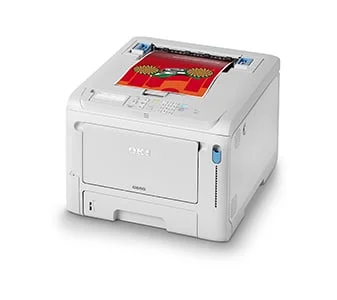
The OKI C650. Product photo: OKI.
A reliable office printer may still be unsuitable for the cardstock you want. Choose against the paper specification, not just a general recommendation.
Paper
I use 200 gsm matte or semi-matte paper. I prefer it to glossy, but that's personal. It gives me enough stiffness for workshop use.
Check your printer's supported weights before buying. For heavier stock, pay particular attention to which feed path it requires.
Opacity matters if participants hold cards whose faces must stay hidden. Some commercial playing-card stocks use a coloured core to stop light showing through. Ordinary cardstock is made differently, and paper weight alone won't tell you how opaque it is.
For cards used face up on a table, that may not matter. If your activity involves hidden information, print a sample and hold it up to the light before choosing the paper.
For laser paper in Europe, Mondi Color Copy and Clairefontaine DCP both come in 200 and 250 gram and are made for colour reproduction. I'd test before committing to a big pack, because paper and printer combinations are weirdly specific.
Textured craft paper won't necessarily reproduce the linen finish of a commercial deck. It can also make fine detail harder to print. I'd start with smooth paper designed for the printer you're using.
Cutters
I'd pay particular attention to the cutter. A little play in the cutting head can leave you with cards that don't match, even when you've lined up the paper carefully.
On a rotary trimmer, look at how the head is guided and whether it stays steady along the rail. Rotatrim offers twin-rail and square-rail designs intended to limit head swivel. The rail is worth checking, but so are the paper guide and how securely the sheet stays in place.
The Rotatrim Pro series and Dahle professional trimmers are options to compare. Make sure the cutting length covers the paper you're using. I use a Fiskars, which does the job for me.
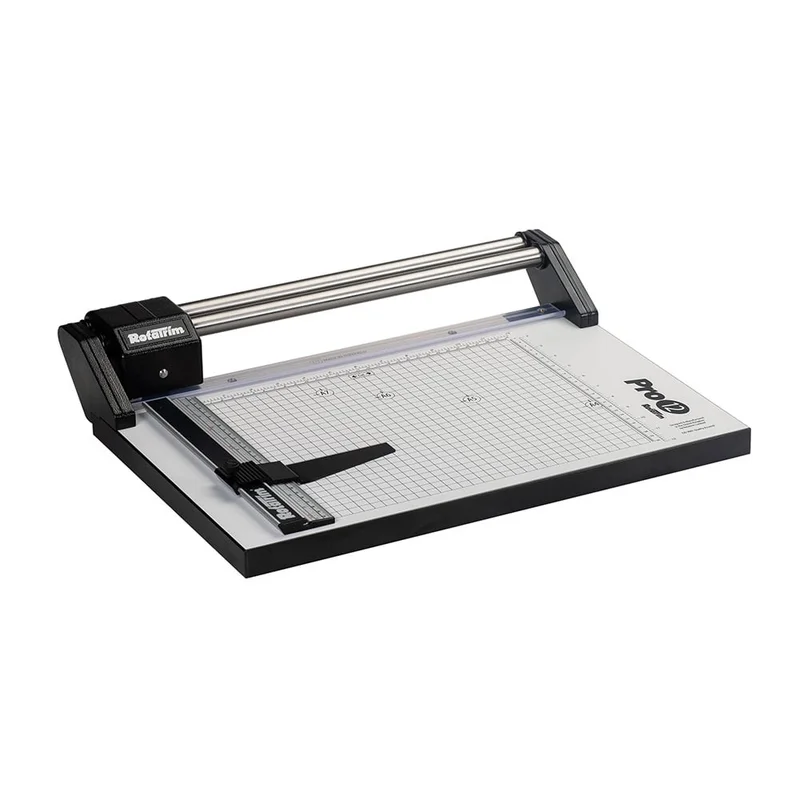
The 12 inch Rotatrim Professional M12.
Some guillotine cutters can handle stacks, though capacity depends on the model and paper thickness. I haven't been happy with stacking sheets on my rotary trimmer: they can slide against each other and leave the bottom cards a different size.
So I cut one sheet at a time. That's fine for a few decks, but it limits how many I'll make at home. Before committing to a large batch, time yourself making one deck and compare the work with a print-shop quote.
Corner rounders
Rounding the corners can make homemade cards feel more finished, though it takes time.
The Sun-Star Kadomaru Pro offers three radii: 3mm, 5mm, and 8mm. I'd start by testing the 3mm setting on a spare card. A larger radius gives a more noticeably rounded corner, which may suit your design.
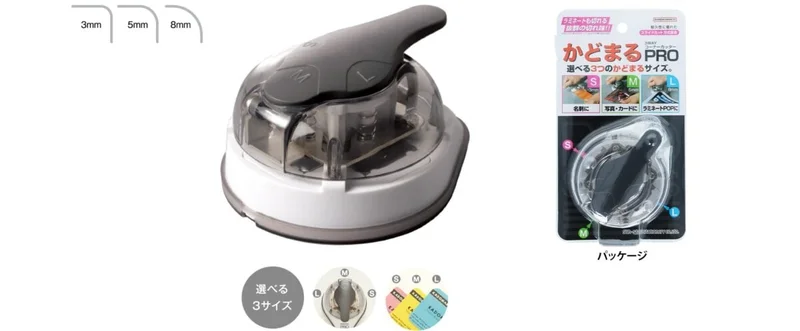
The Kadomaru Pro with its 3mm, 5mm and 8mm settings. Product photo: Sun-Star Stationery.
Plan on punching one card at a time unless the tool is rated for more at your chosen thickness. A 54-card deck has 216 corners. I round them for a deck I'll use for years or hand to a client, but I don't bother for a prototype.
If you're rounding hundreds of cards regularly, compare lever-operated metal die rounders. Look for guides that hold each card in the same position, and check the capacity for your stock.
Start with paper, sleeves, and an existing printer
Before buying new equipment, try printing on ordinary paper your printer supports. Cut out each card and slide it into a sleeve in front of a spare playing card. The playing card adds stiffness. If you need a custom back, use a separate paper insert on the other side, so you don't have to align a double-sided print.
You'll need sleeves and suitably sized playing cards, plus time to assemble them. The result looks like a prototype, so make sure that's appropriate for the session.
For a deck that changes often, it's a useful place to start. You can replace a paper insert each time you revise a card and decide later whether you need better printing equipment.
What print and play actually is
How a print-and-play deck is laid out for home printing, including card grids, duplex alignment, gutterfold, cutting gaps, card sizes, and press-ready exports.
The Silent Language of Card Deck Colors
Why the colors in your card deck matter more than you think, and how to design a color strategy that works.